Key Takeaways
-
Use a HEPA-filter vacuum with multiple microfiber cloths to capture fine post-renovation dust and prevent redistribution into the air.
-
Follow a top-to-bottom cleaning strategy, starting with high surfaces like ceiling fans and working down to floors to ensure efficient dust removal.
-
Replace HVAC filters immediately after renovation and run HEPA air purifiers continuously for at least a week to improve indoor air quality.
-
Clean floors according to specific surface types using appropriate cleaning solutions and techniques to protect and restore different flooring materials.
-
Thoroughly clean kitchen and bathroom surfaces, paying special attention to appliances, fixtures, cabinets, and hard-to-reach areas where construction dust accumulates.
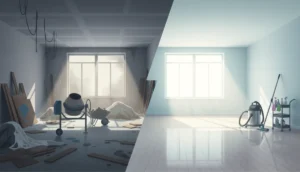
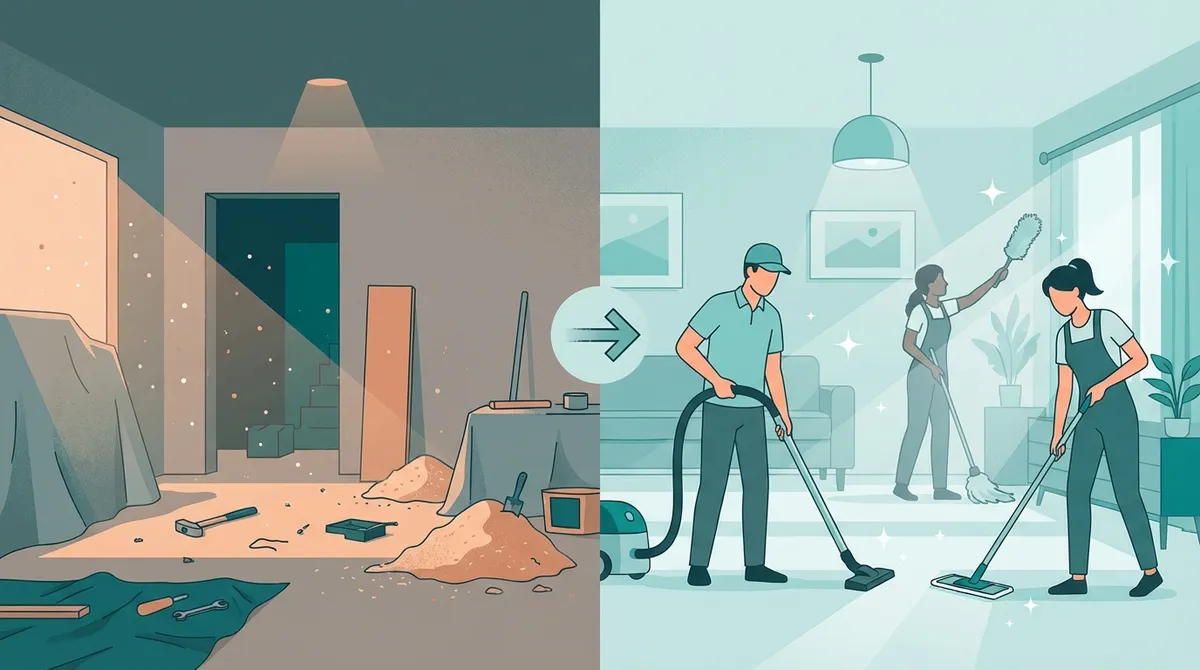
So, you’ve just wrapped up your home renovation, and the excitement is real! But now you’re staring at what looks like a construction zone covered in a fine layer of dust that seems to have infiltrated every possible surface. Don’t worry—you’re not alone in this. Post-renovation cleaning is a unique challenge that requires special attention and the right approach to transform your newly renovated space into the pristine home of your dreams.
Whether you’ve remodeled a single bathroom or undertaken a whole-house transformation, the cleanup process can feel overwhelming. Construction dust is sneaky—it settles on ceiling fans, hides in air vents, and clings to surfaces you didn’t even know existed. But here’s the good news: with the right techniques, tools, and a systematic approach, you can tackle this challenge and reveal the beautiful space you’ve invested in.
In this comprehensive guide, we’ll walk through everything you need to know about home renovation cleaning and detailing. From specialized equipment recommendations to room-by-room strategies, we’ve got you covered. Let’s roll up our sleeves and get started on making your renovated home shine!
Understanding Post-Renovation Dust and Debris
Post-renovation dust isn’t your typical household dust. It’s a mixture of drywall particles, sawdust, paint residue, and various construction materials that create a persistent and pervasive problem. This fine dust can remain airborne for hours and settle in unexpected places long after the construction crew has left.
The challenge with renovation dust is its composition. Unlike regular dust, it contains particles that are smaller and more abrasive, which can scratch surfaces if not cleaned properly. That’s why simply wiping down surfaces with a dry cloth won’t cut it—you’ll need specialized techniques and tools to address this unique cleaning situation.
Construction debris also includes larger items like wood scraps, packaging materials, nails, and leftover building supplies. Before you begin the detailed cleaning process, removing these larger items is essential. This preliminary step creates a safer environment and makes the deep cleaning process more efficient and effective.
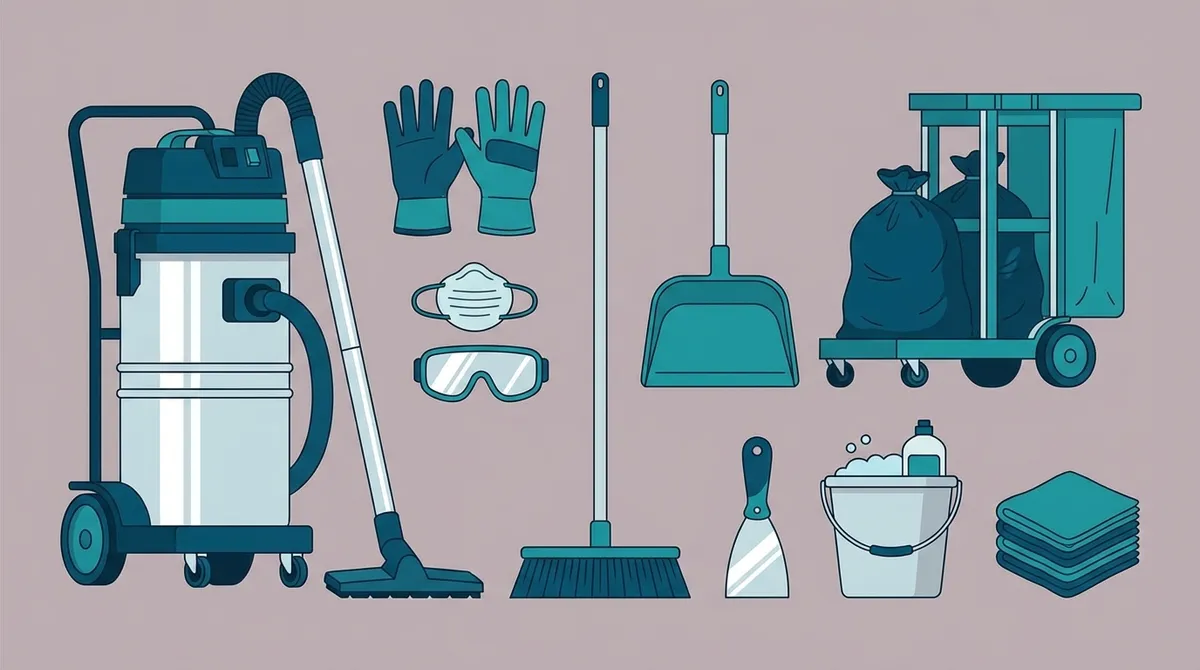
Essential Tools and Equipment for Renovation Cleanup
Having the right tools makes all the difference when tackling post-renovation cleaning. The most important investment you can make is a vacuum cleaner equipped with a HEPA filter. These specialized filters capture 99.97% of particles as small as 0.3 microns, preventing dust from being redistributed into the air while you clean.
Microfiber cloths are your best friends during this process. Unlike traditional cleaning rags, microfiber traps dust particles rather than pushing them around. You’ll want to stock up on plenty of these cloths, as they should be rinsed frequently during the cleaning process to maintain their effectiveness.
Here are the essential tools you’ll need:
- HEPA-filter vacuum with various attachments for different surfaces
- Multiple microfiber cleaning cloths (at least 20-30)
- Bucket with clean water for rinsing cloths
- pH-neutral floor cleaner appropriate for your flooring type
- Extension pole for reaching high areas like ceiling fans and light fixtures
- Quality mop designed for your specific flooring
- Scrapers for removing paint splatters and adhesive residue
- Air purifier with HEPA filtration
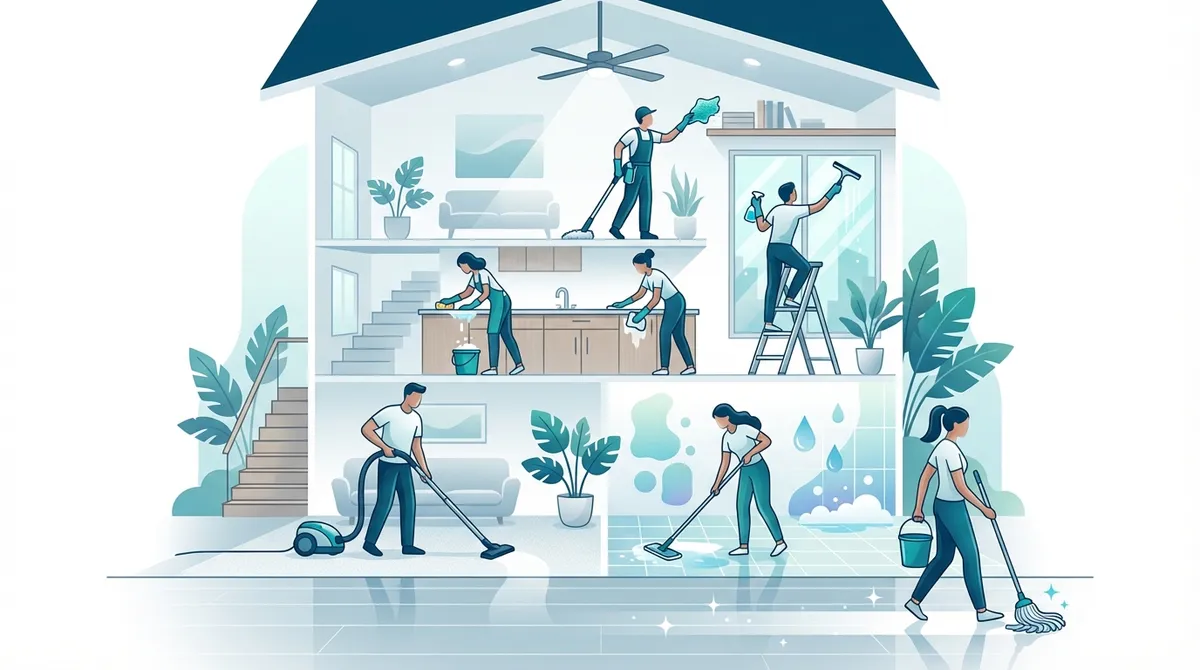
The Top-to-Bottom Cleaning Strategy
Professional cleaners always work from top to bottom, and this principle is especially important after a renovation. Starting at the ceiling and working your way down ensures that dust and debris fall to already-uncleaned areas rather than dirtying spaces you’ve already addressed.
Begin with ceiling fans, light fixtures, and crown molding. Use your vacuum’s extension wand to remove loose dust from these high areas. Follow up with a slightly damp microfiber cloth to capture any remaining particles. This two-step process—vacuum first, then wipe—should become your standard approach throughout the cleaning process.
Next, move to walls, paying special attention to corners and edges where dust accumulates. Use gentle, downward strokes with your damp microfiber cloth, and rinse it frequently. If your renovation included painting, check for paint splatters and carefully remove them with an appropriate scraper or solvent recommended by your painter.
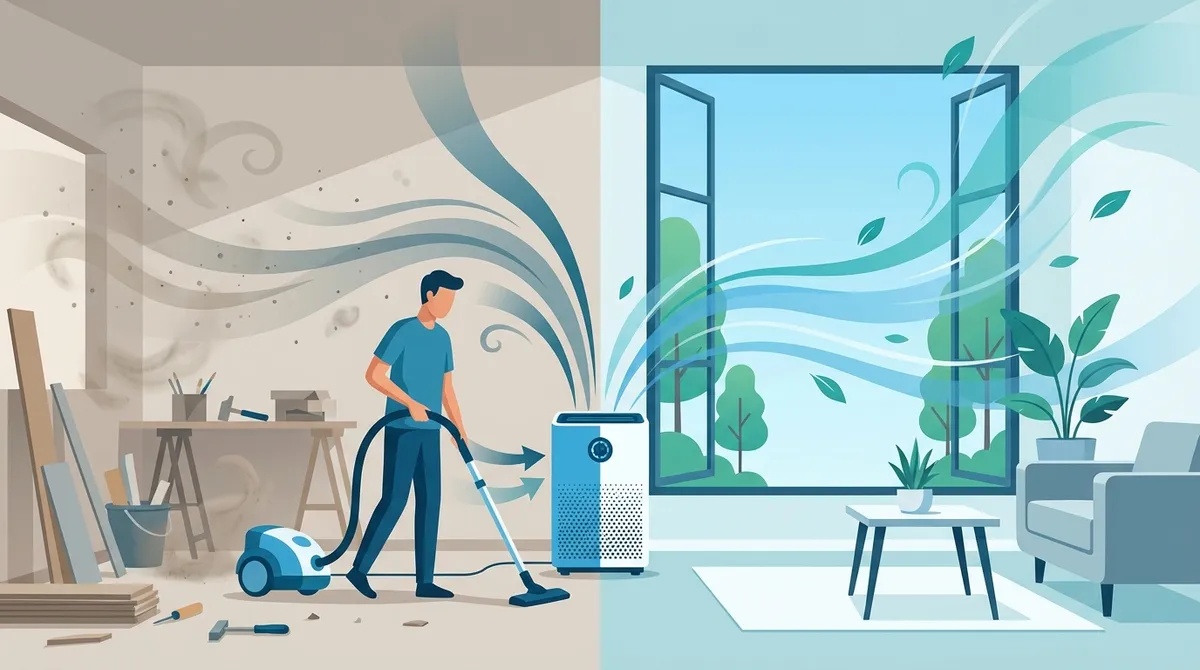
Air Quality Improvement After Renovation
One of the most overlooked aspects of post-renovation cleaning is addressing indoor air quality. Construction activities release countless particles into the air that can linger for weeks if not properly addressed. Improving air quality isn’t just about comfort—it’s about health and safety for you and your family.
Start by replacing your HVAC filters immediately after renovation. Construction dust can clog filters quickly, reducing system efficiency and circulating contaminated air throughout your home. Consider upgrading to high-quality filters with a MERV rating of 11 or higher during the first few months after renovation.
Running air purifiers equipped with HEPA filters in renovated areas accelerates the removal of airborne particles. Place these purifiers strategically in rooms that underwent the most extensive work, and run them continuously for at least the first week after your renovation is complete.
Don’t forget about your air ducts. If your renovation was extensive, consider having your HVAC ducts professionally cleaned. Construction dust can infiltrate your ductwork, and every time your heating or cooling system runs, it can redistribute this dust throughout your home.
Floor Care by Surface Type
Different flooring materials require different cleaning approaches after renovation. Getting this right protects your investment and ensures your floors look their best for years to come.
| Floor Type | Cleaning Method | Products to Use |
|---|---|---|
| Hardwood | Sweep, vacuum with soft brush, damp mop | pH-neutral hardwood cleaner |
| Tile | Vacuum, mop, scrub grout lines | Tile cleaner, grout brush and sealer |
| Carpet | HEPA vacuum multiple times, steam clean | Professional carpet cleaning solution |
| Laminate | Dry sweep, damp mop (minimal water) | Laminate-specific cleaner |
| Vinyl | Sweep, vacuum, mop with appropriate solution | Vinyl floor cleaner |
For hard floors, always sweep or vacuum before mopping. This prevents turning dust into muddy streaks that are harder to remove. Use a damp (not soaking wet) mop with a pH-neutral cleaner appropriate for your specific flooring material. Too much water can damage hardwood and laminate floors, so wring out your mop thoroughly.
Carpeted areas require special attention after renovation. Vacuum multiple times in different directions to lift embedded dust particles. Follow this with professional steam cleaning to remove deep-seated construction dust that regular vacuuming can’t reach. This step is particularly important if your renovation generated significant dust.
Kitchen Deep Cleaning After Renovation
The kitchen presents unique challenges during post-renovation cleaning, especially if it was the renovated area or if dust migrated from other parts of the house. Every appliance, cabinet, and surface requires meticulous attention to ensure your kitchen is truly ready for use.
Start with cabinets, both inside and out. Remove all items if the cabinets weren’t emptied during renovation. Vacuum the interiors using your HEPA vacuum’s brush attachment, then wipe down all surfaces with a damp microfiber cloth. Pay special attention to cabinet hardware, which can harbor dust in crevices and around mounting points.
Appliances need both exterior and interior cleaning. For your refrigerator, remove all shelves and drawers, wash them separately, and wipe down the interior walls. Don’t forget to vacuum the coils at the back or bottom of the unit—construction dust here can reduce efficiency. Clean your oven, microwave, and dishwasher interiors thoroughly, as dust can settle even in these closed spaces.
Key kitchen cleaning tasks include:
- Remove and wash all cabinet shelf liners and replace if necessary
- Clean inside and outside of all appliances, including rarely-accessed areas
- Wipe down countertops with appropriate cleaners for the material
- Clean and polish all fixtures, including faucets and cabinet hardware
- Clear any debris from the sink drain and garbage disposal
- Clean tile backsplashes and scrub grout lines
Bathroom Detailing and Sanitization
Bathrooms require special attention to detailing and sanitization after renovation work. These spaces combine moisture with construction dust, which can create stubborn residues that require extra effort to remove properly.
Start by addressing tiles and grout. Use a dedicated grout brush with an appropriate cleaner to scrub grout lines, which tend to absorb and trap construction dust. If your renovation included new tile installation, you may also need to remove any haze left by grout or thinset. A specialized tile cleaner designed for post-installation cleanup works wonders for this purpose.
All fixtures—faucets, showerheads, towel bars, and toilet paper holders—should be wiped down and polished. Construction dust can settle in the small crevices around these fixtures, so pay careful attention to mounting points and the areas behind fixtures. A small detailing brush can help you reach tight spaces.
Don’t overlook the toilet, even if your bathroom wasn’t renovated. Dust can settle inside the tank and bowl. Clean both thoroughly, and check that the toilet is functioning properly after any nearby construction work. Clear any potential debris from drains in sinks, showers, and tubs that might have accumulated during the renovation process.
Windows, Doors, and Trim Detailing
Windows are dust magnets during renovation, and they require careful attention to restore their clarity and function. Start by vacuuming window tracks and sills with your HEPA vacuum’s crevice tool. Construction dust loves to accumulate in these channels, and removing it ensures smooth operation of your windows.
Clean window glass with a quality glass cleaner and microfiber cloth, working from top to bottom. You may need to clean each window multiple times to remove all construction residue. Don’t forget about window screens—remove them if possible and wash them outdoors with a gentle spray of water and mild soap.
Door frames, baseboards, and trim work require detailed attention. These areas are often overlooked but can harbor significant amounts of dust. Use a damp microfiber cloth to wipe down all trim, paying special attention to the tops of door frames and the detailed grooves in decorative molding.
Hidden Areas That Need Attention
Some areas in your home are easy to overlook during post-renovation cleaning, but they can harbor substantial amounts of dust and debris. These hidden spots can continue releasing dust into your living spaces long after you think the cleaning is complete.
Check behind and under furniture that remained in place during renovation. Use your vacuum’s extension wand to reach these areas, and move furniture when possible to clean thoroughly underneath. This is especially important for large appliances and heavy furniture pieces that create gaps between themselves and the walls.
Inside closets and storage areas often get neglected during the cleaning process. Even if these spaces were closed during renovation, fine dust can infiltrate through gaps around doors. Vacuum closet floors and shelves, and wipe down any surfaces where clothing or stored items will rest.
Additional hidden areas to address:
- Behind radiators and heating units
- Inside light fixtures and lamp shades
- On top of tall furniture, cabinets, and refrigerators
- Inside electrical outlet covers and switch plates
- Around and behind window treatments
- Inside garage spaces connected to renovated areas
When to Call Professional Cleaning Services
While many homeowners can tackle post-renovation cleaning themselves, there are situations where professional help is the smarter choice. Professionals bring specialized equipment, expertise, and efficiency that can save you time and ensure a more thorough result.
Consider professional services if your renovation was extensive, involved multiple rooms, or included major demolition work. Large-scale projects generate tremendous amounts of dust and debris that can be overwhelming for DIY cleaning. Professional cleaners have commercial-grade equipment and the experience to tackle even the most challenging post-renovation situations.
If you’re preparing a property for sale, rental, or Airbnb guests, professional cleaning ensures the space meets high standards and creates the best possible impression. Companies like Tropical Cleaning & Painting specialize in property turnover & prep services, handling everything from deep cleaning to final touches that make properties show-ready.
Professional services are particularly valuable for specialized tasks like carpet steam cleaning, duct cleaning, and exterior window cleaning on multi-story homes. These tasks require equipment and expertise that most homeowners don’t possess, and attempting them yourself can be time-consuming or even dangerous.
Maintaining Cleanliness After the Initial Deep Clean
Once you’ve completed your initial post-renovation deep clean, maintaining that fresh, clean environment requires ongoing attention. Construction dust has a way of reappearing for weeks after renovation as air movement and daily activities disturb settled particles.
Continue using your HEPA air purifiers for at least two weeks after the initial cleaning. These devices will capture any remaining airborne particles and help maintain better indoor air quality. Replace HVAC filters again after about a month, as they’ll likely capture additional dust that continues circulating through your system.
Perform daily light cleaning during the first week or two after renovation. This might include quickly vacuuming high-traffic areas, wiping down frequently-touched surfaces, and addressing any visible dust accumulation. This regular maintenance prevents dust from building up and makes it easier to keep your renovated space looking its best.
Room-by-Room Post-Renovation Checklist
A systematic approach ensures you don’t miss any important areas during your post-renovation cleaning. Use this comprehensive checklist to work through each room methodically.
| Room | Priority Tasks | Special Considerations |
|---|---|---|
| Living Room | Vacuum upholstery, dust electronics, clean windows | Pay attention to entertainment centers and shelving units |
| Kitchen | Clean appliances inside/out, wipe cabinets, sanitize counters | Clear drains, check behind appliances |
| Bathroom | Scrub tile and grout, polish fixtures, sanitize all surfaces | Remove installation haze, check drain function |
| Bedroom | Vacuum thoroughly, clean closets, wipe all surfaces | Wash all bedding and curtains |
| Basement/Garage | Remove debris, sweep floors, organize materials | Check for moisture issues from construction |
Working through each room systematically prevents you from feeling overwhelmed and ensures comprehensive coverage. Take your time with each space, and don’t hesitate to revisit areas if you notice additional dust or cleaning needs after your initial pass.
Safety Considerations During Post-Renovation Cleaning
Safety should always be your top priority during post-renovation cleaning. Construction debris can include sharp objects, and renovation materials may have left residues that require careful handling. Protect yourself appropriately throughout the cleaning process.
Wear appropriate personal protective equipment, including dust masks or respirators rated for fine particles, safety glasses, and durable gloves. Construction dust can irritate your respiratory system, eyes, and skin, so proper protection is essential. If you have allergies or respiratory sensitivities, consider wearing an N95 or higher-rated mask.
Be cautious when using ladders or step stools to reach high areas. Make sure your ladder is stable, and never overreach. It’s better to reposition your ladder frequently than to risk a fall. If you’re uncomfortable working at heights, this is another excellent reason to consider professional cleaning services.
Check that all utilities are functioning properly before beginning your cleaning. Ensure electrical outlets work correctly, water flows properly from all fixtures, and there are no gas odors or other concerns. If you notice any issues, address them before proceeding with cleaning to avoid safety hazards.
Cost Considerations and Budget Planning
Understanding the costs associated with post-renovation cleaning helps you budget appropriately and decide which tasks to handle yourself versus hiring professionals. DIY cleaning primarily costs your time plus the expense of supplies and equipment.
Basic cleaning supplies for post-renovation work typically cost between $100-$300, depending on what you already own. This includes microfiber cloths, cleaning solutions, brushes, and other consumables. If you need to rent or purchase a HEPA vacuum and air purifiers, expect additional costs of $200-$500 for quality equipment.
Professional post-renovation cleaning services vary widely in cost based on your location, the size of your home, and the extent of the renovation work. Many companies offer free quotes so you can compare pricing and services before making a decision.
Specialty services like carpet steam cleaning, duct cleaning, or exterior window washing carry additional costs but may be worth the investment for a truly comprehensive clean. These services typically range from $150-$500 each, depending on the scope of work required.
Connecting With Tropical Cleaning & Painting
Post-renovation cleaning represents the final step in transforming your house into the home you’ve been dreaming about throughout the renovation process. While it requires effort and attention to detail, the reward is a pristine, healthy living space where you can finally enjoy the improvements you’ve made.
Whether you tackle the cleaning yourself or bring in professional help, the key is approaching the task systematically and not rushing through important steps. Remember that construction dust is persistent, and thorough cleaning now prevents ongoing issues with air quality and cleanliness in the months ahead.
For homeowners, real estate professionals, and property managers in need of comprehensive post-renovation cleaning, Tropical Cleaning & Painting offers specialized specialty cleaning services designed specifically for these situations. Their team understands the unique challenges of post-construction cleanup and brings the equipment, expertise, and attention to detail needed to transform your renovated space into a truly move-in ready environment.
Don’t let the final step of your renovation project overwhelm you. With the right approach, tools, and support, your newly renovated home will be ready to enjoy in no time. Check out what satisfied customers are saying by reading testimonials from property owners who’ve experienced professional post-renovation cleaning services. You can also connect with the team on Facebook to see recent projects and stay updated on helpful cleaning tips.
Ready to transform your post-renovation space into a pristine, welcoming environment? Request your free quote today and discover how professional cleaning services can take the stress out of your renovation’s final phase. Your beautiful, newly renovated home deserves a cleaning that matches the quality of the work you’ve invested in. Take a moment to visit us on Google to see how Tropical Cleaning & Painting has helped homeowners and property professionals throughout the area achieve exceptional results.
FAQs
Q: What is the best way to remove construction dust after home renovation?
A: The most effective method is using a HEPA-filter vacuum to remove loose dust first, followed by wiping surfaces with damp microfiber cloths. This two-step approach captures fine particles without redistributing them into the air. Work from top to bottom, starting with ceiling fans and light fixtures, then moving to walls, furniture, and finally floors. Remember to rinse your microfiber cloths frequently in clean water to maintain their dust-trapping effectiveness throughout the cleaning process.
Q: Should I replace my HVAC filters after a home renovation?
A: Absolutely! You should replace your HVAC filters immediately after renovation work is complete, as construction dust can quickly clog filters and reduce system efficiency. Consider upgrading to filters with a MERV rating of 11 or higher for the first few months post-renovation. Plan to replace the filters again after about 30 days, as additional dust will continue to circulate through your system. If your renovation was extensive, you might also want to have your air ducts professionally cleaned to remove dust that settled inside the ductwork.
Q: How do you deep clean different types of floors after renovation?
A: Floor cleaning approaches vary by material. For hardwood and laminate, sweep or vacuum first, then use a barely damp mop with pH-neutral cleaner—excess water can damage these floors. Tile floors can handle more moisture; vacuum, mop, and scrub grout lines with a dedicated brush. Carpets need multiple HEPA vacuuming passes in different directions, followed by professional steam cleaning to remove embedded construction dust. Always use cleaners specifically designed for your floor type to protect your investment and achieve the best results.
Q: Is professional post-renovation cleaning worth the investment?
A: Professional cleaning is definitely worth considering, especially for extensive renovations or if you’re preparing a property for sale, rental, or guests. Professionals bring commercial-grade HEPA equipment, specialized knowledge, and efficiency that saves you significant time and ensures thorough results. They’re particularly valuable for challenging tasks like carpet steam cleaning, duct cleaning, and multi-story window washing. If you’re overwhelmed by the scope of cleaning or have time constraints, professional services provide peace of mind and a guaranteed fresh start in your renovated space.
Q: How can I improve indoor air quality after renovation work?
A: Start by replacing all HVAC filters immediately after renovation, then run HEPA air purifiers continuously in renovated areas for at least two weeks. Open windows when weather permits to increase ventilation and help flush out airborne particles. Consider having your air ducts professionally cleaned if your renovation was extensive, as dust can infiltrate the entire ductwork system. Replace HVAC filters again after 30 days, and continue monitoring air quality. These steps dramatically reduce airborne construction dust and create a healthier indoor environment for you and your family.